|
|
|
|
| Contents | ||
|
In this Clinic, we will show you how to add a Lake to a background scene. You can use this same technique though to "fill in" any type of irregular space that you have on your layout. Generally speaking, this technique works best with images from the "background" scenery folder which would normally be applied to large spaces in either the foreground or background layer of your layout plan Step 1: adding a valley to a rocky area 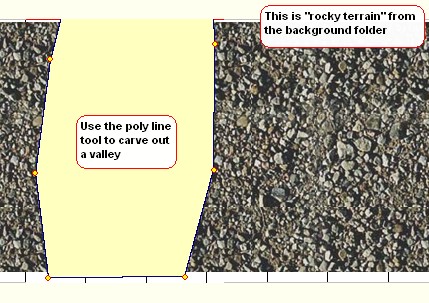 Step 2 - Getting to the "Properties" sub menu
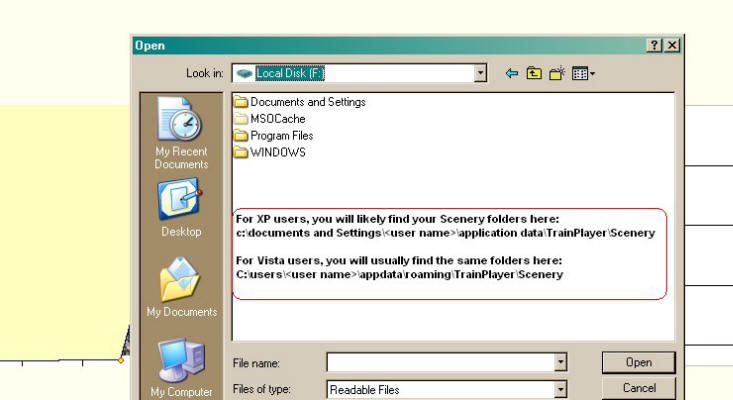
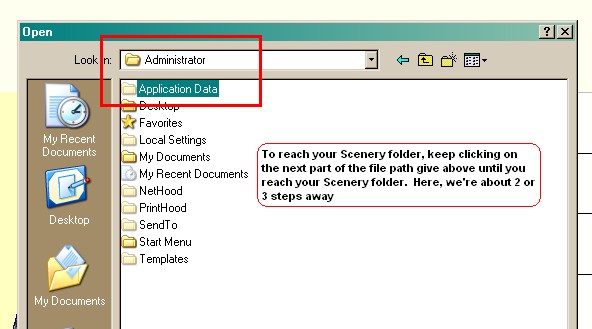
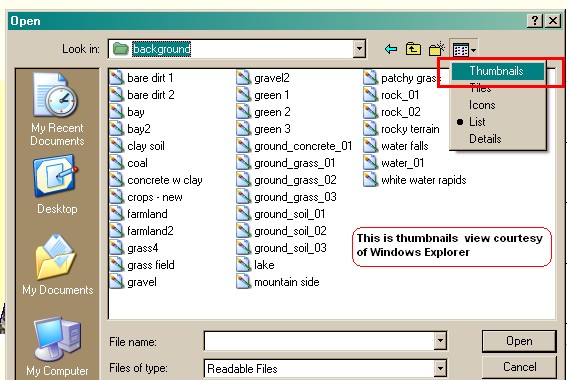
Step 3: - working through the Windows File Manager menus
Typical location of Scenery images
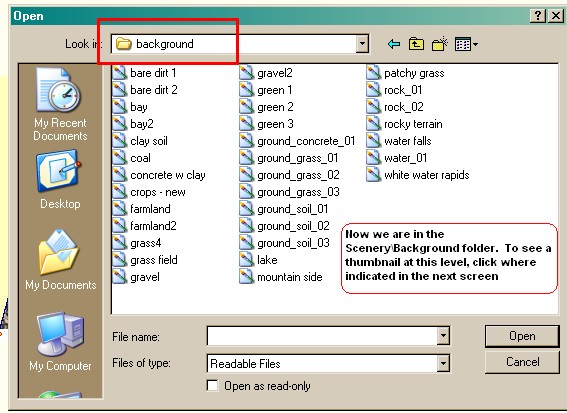
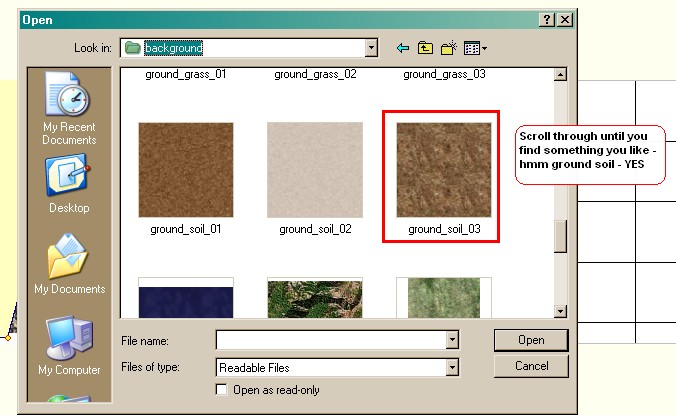
Make your selection
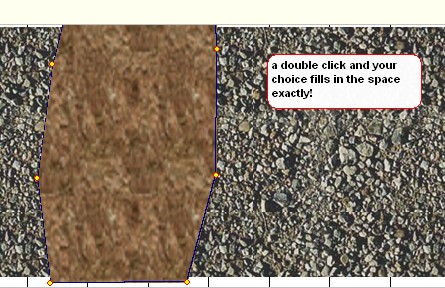
Step 5: A double click and the image fills the space
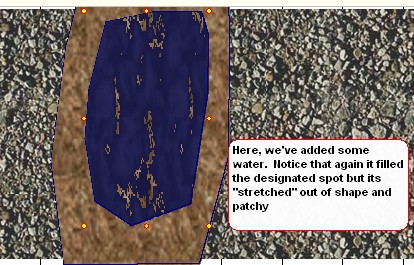
Step 6 - Just add Water - we design another space where we want to locate our little lake
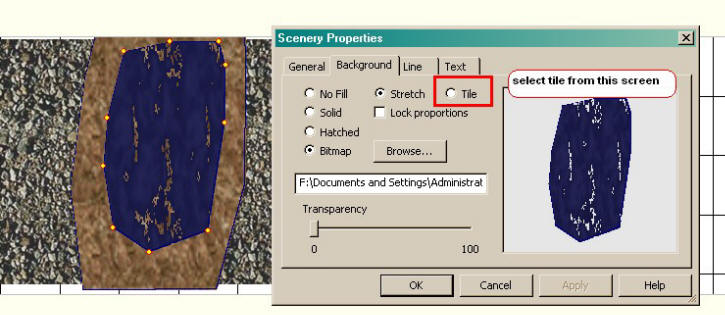
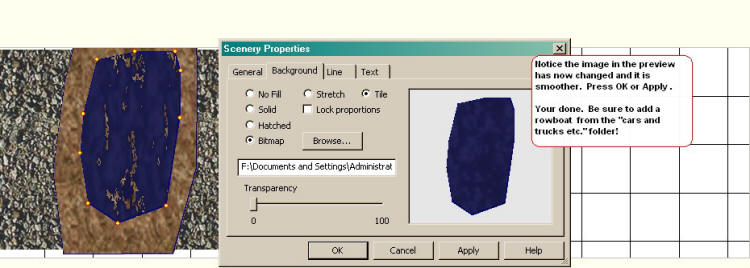
Step 7 More Editing being done - using the tile feature will smooth out many of the images BUT be sure to check the overall effect since you may not like the "overlap" associated with the Tile feature
|
|


| Copyright © 2005 - 2014, TrainPlayer Software |