|
I have done all this on the fly and changed so many things that I would like to reposition all the cars, clear out their AO instructions and start over. It is not clear to me how to do this. Any advice?
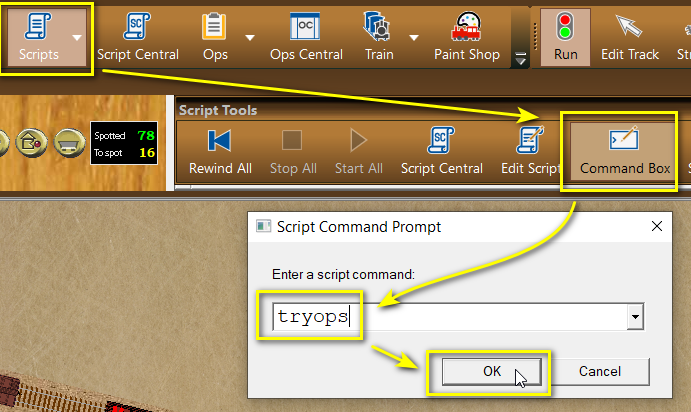
The required process is as follows.
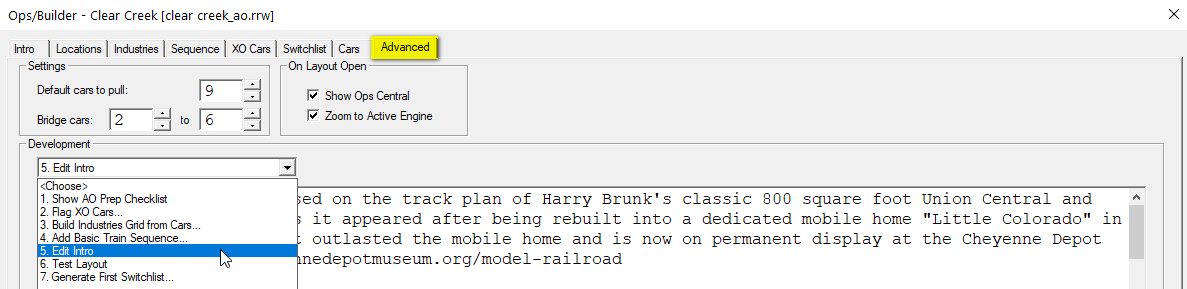
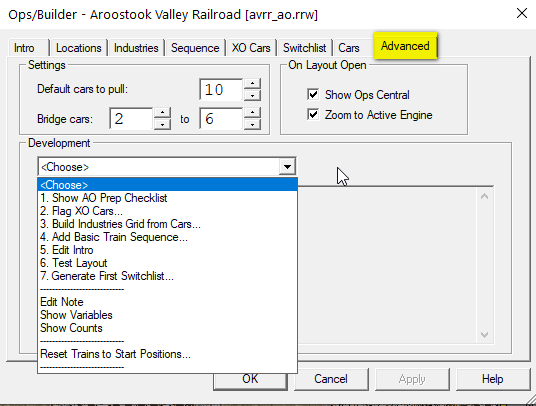
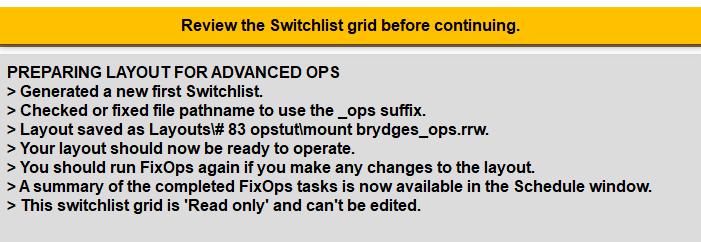
> First "Reset Trains to Start Positions" from the Advanced Tab.
> Rearrange, add or delete cars as you wish.
> You can also add, remove or relabel tracks at this stage.
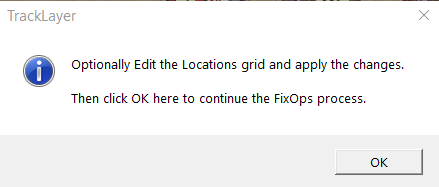
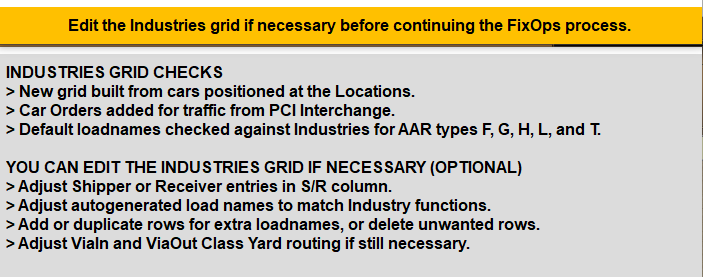
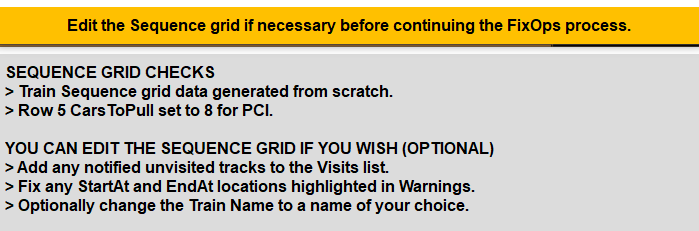
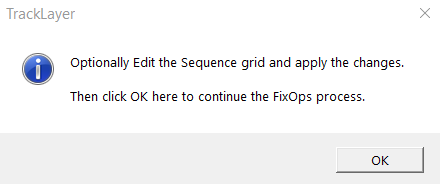
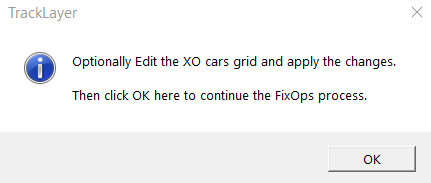
> Update your grids (Locations, Industries, Sequence, XO cars data).
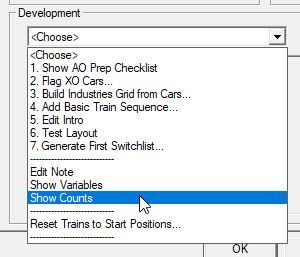
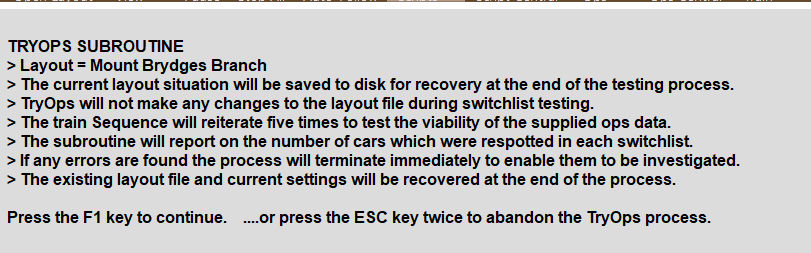
> Use "Test Layout" from the Advanced Tab to identify any problems.
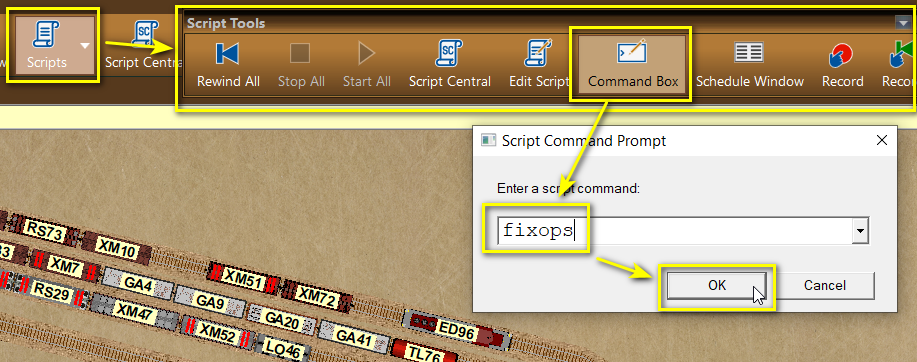
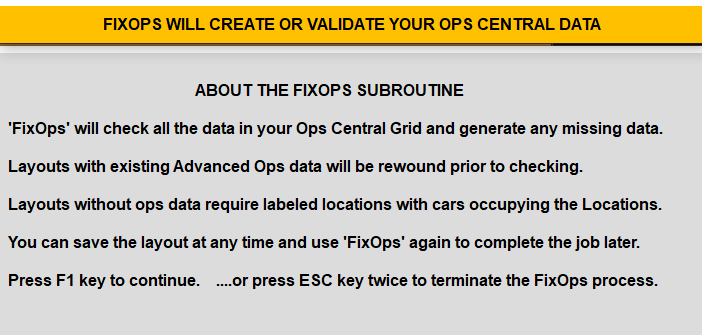
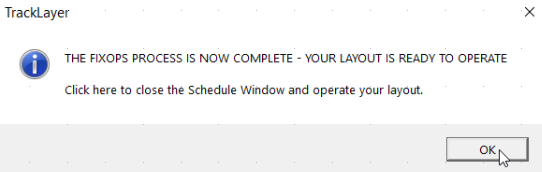
> Run the "fixops" subroutine to analyse your data and build a new Ops plan.
Is AO a simulation of model railroading operations, or a simulation of real railroad operations? They are not the same.
AO is intended to be Model Railroad operations. It uses two separate systems because some tasks are more suitable to Card Waybill ops and others such as block trains and passenger service are better fitted to Card Order operations. However as model railroading seeks to replicate real railroading there is an element of both involved.
The main difference to both model railroading and real railroading is that we only run one train at a time which is a restriction placed on us by TrainPlayer. So essentially we have turned up in a RR owners basement and have been allocated a train to run, we are concerned only with completing the task we have been allocated, although all the other cars on the layout are also tasked for subsequent trains and can be checked by peeking at their waybills, or at the columns on the cars tab. Only the cars in staging which have no labels are not yet tasked and these cars will not receive their waybills until the train which is to move them becomes "Active" in the Sequence.
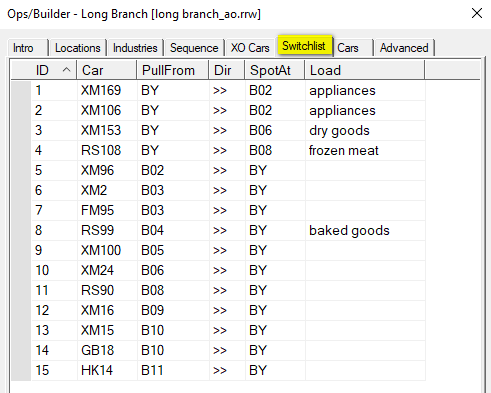
What if I want to complete a switchlist, move a few cars around, add and delete a few here and there and generate a switchlist to see how that works?
I'm afraid that would be an absolute anathema to what we have tried to achieve with AO.
If you start adding and deleting cars you are deleting cars which are already on route and which contain critical waybill data, you are also adding in cars which don't have any ops data. This would be a recipe for disaster unless you were to re-edit your Ops Central grid and generate a new first switchlist every time you make a change.
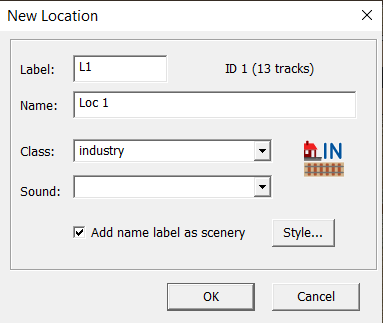
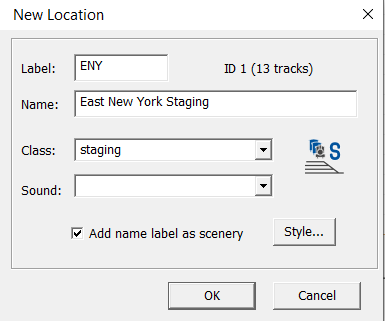
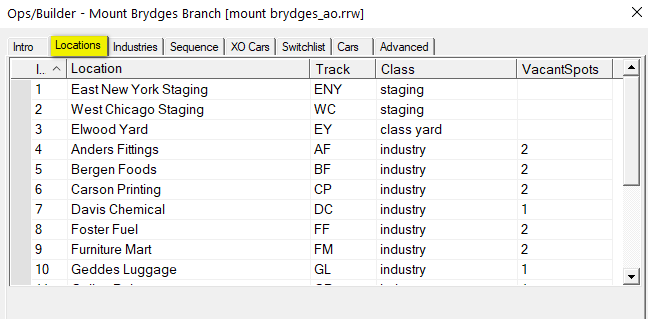
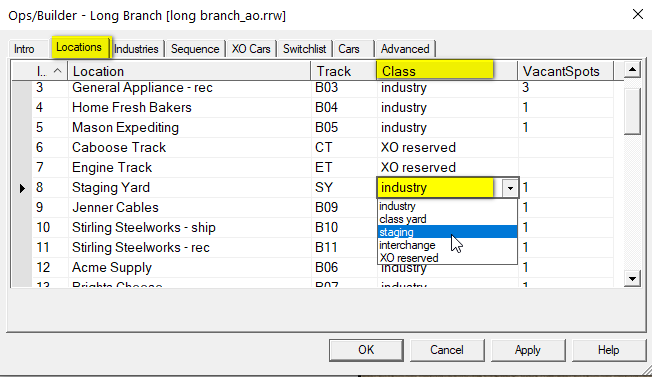
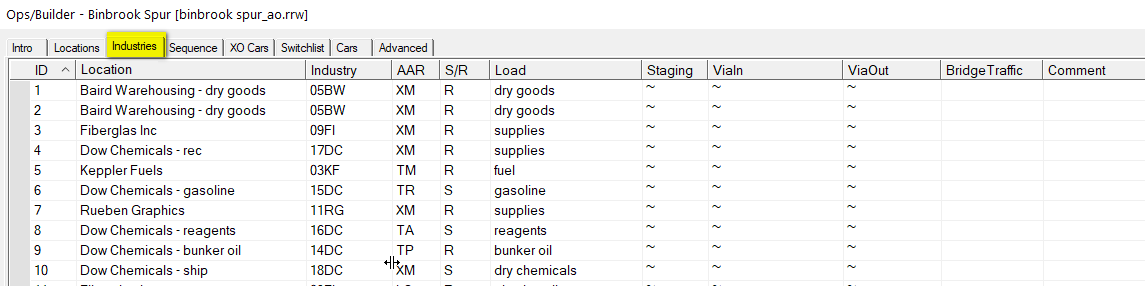
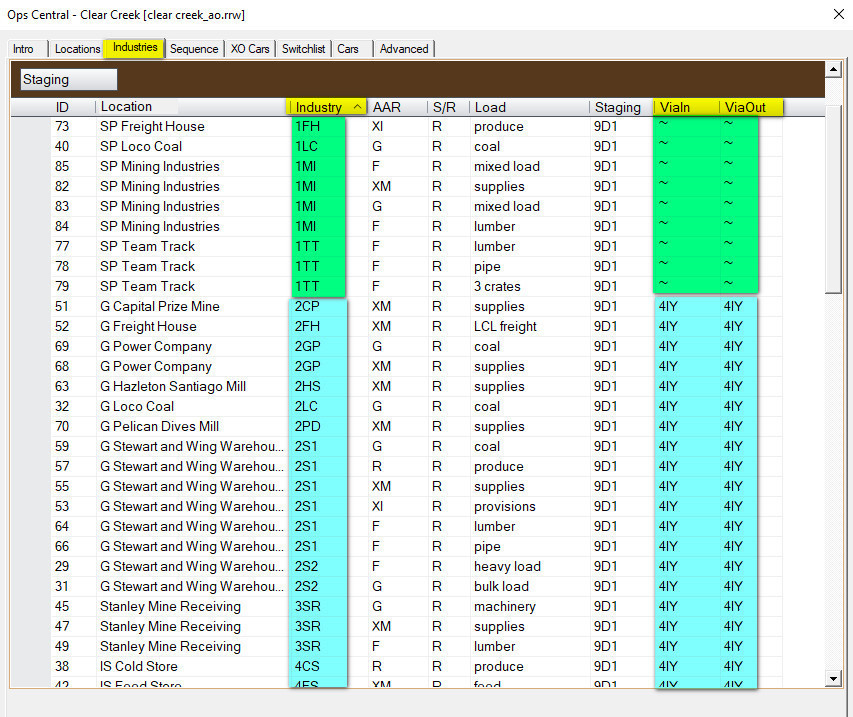
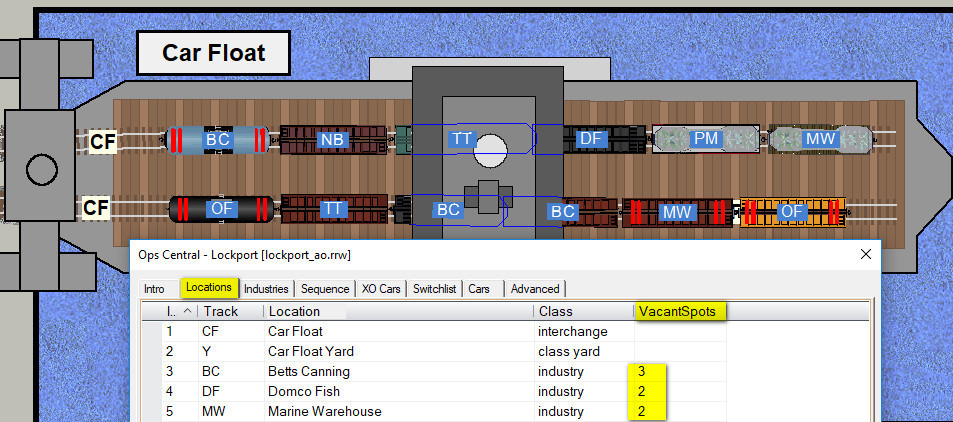
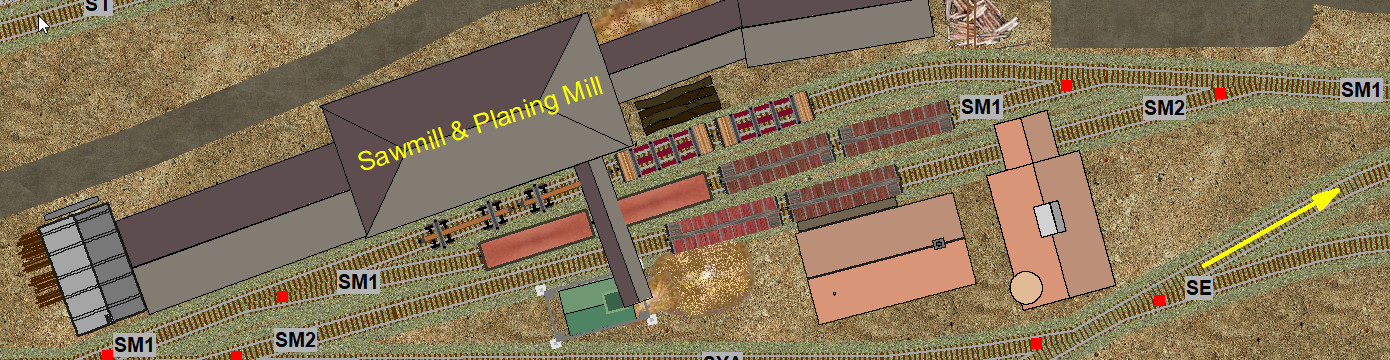
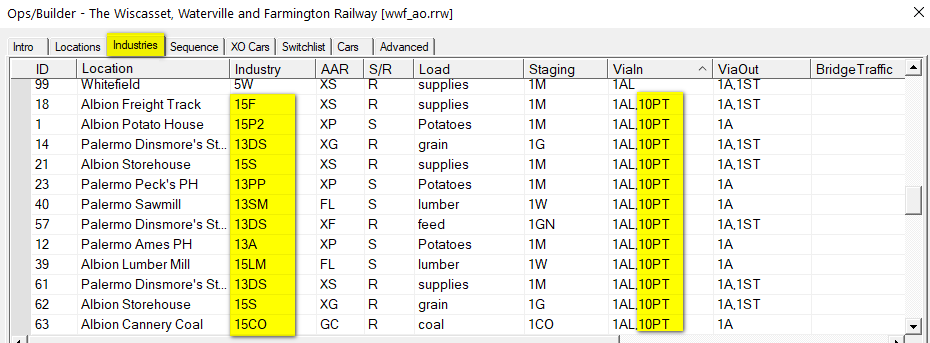
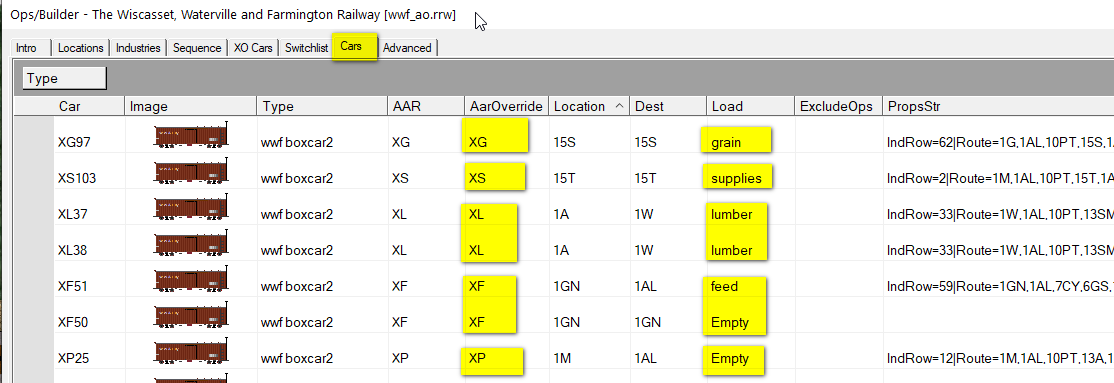
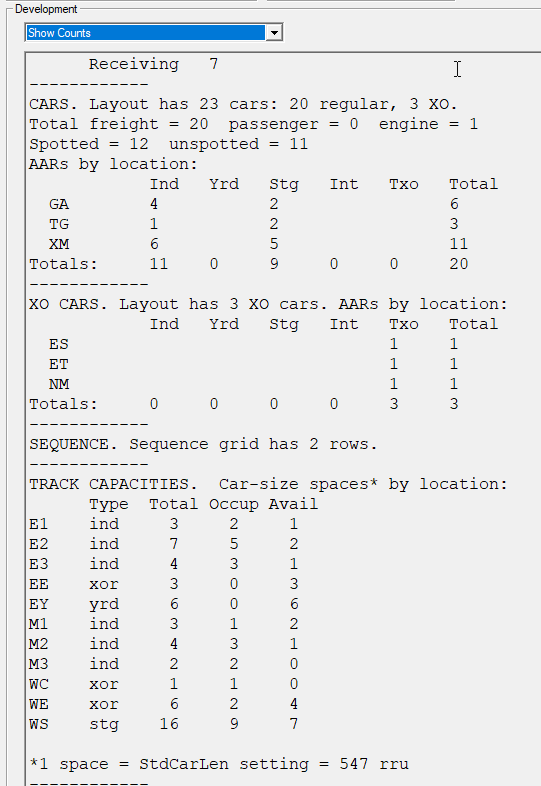
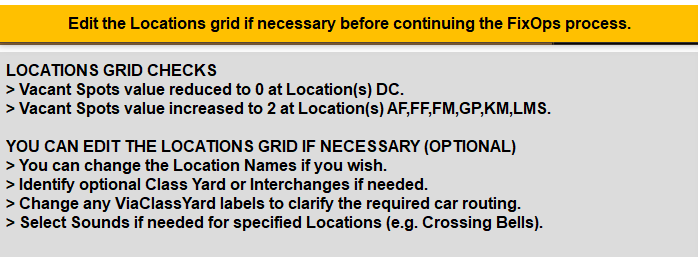
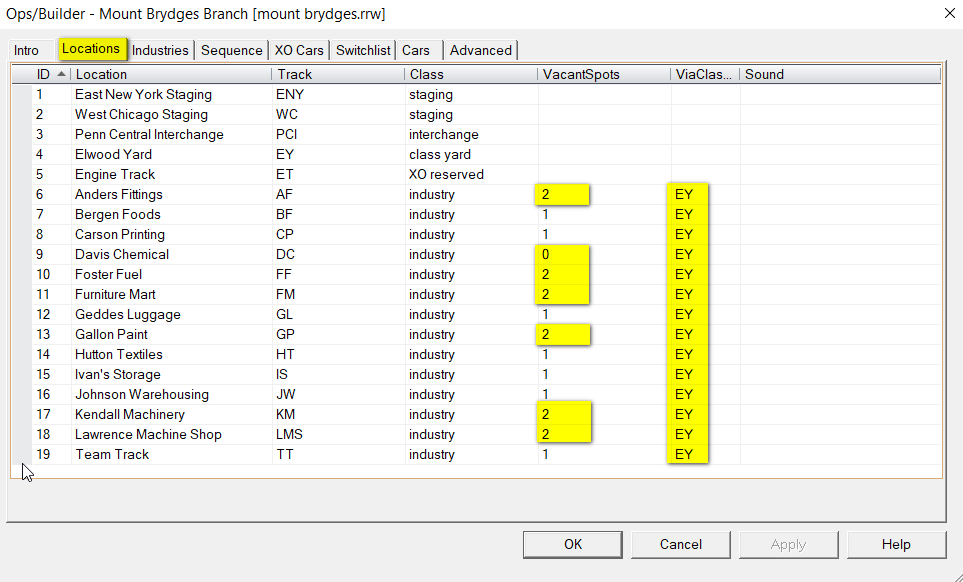
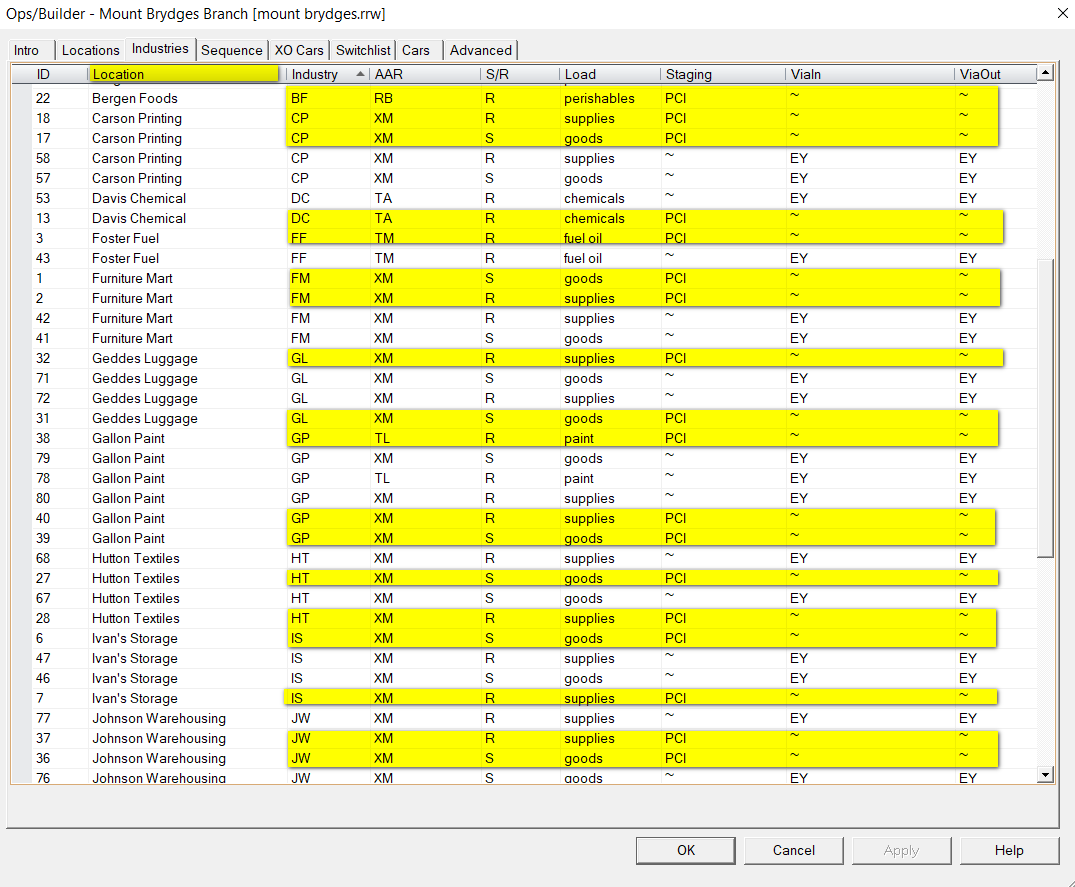
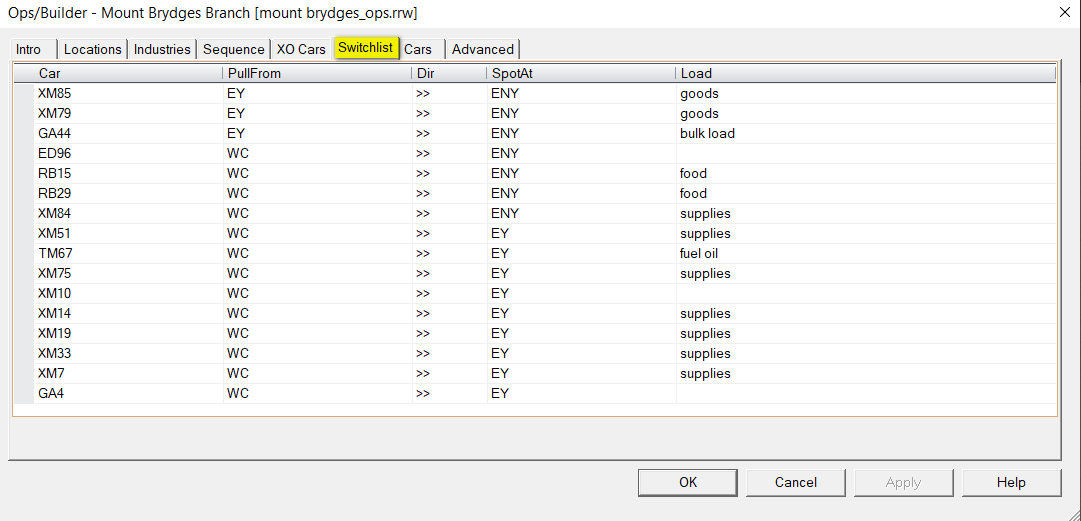
I'm not completely understanding this, on the Locations tab, does capacity minus cars on spot equal VacantSpots? Why not just use track capacity?
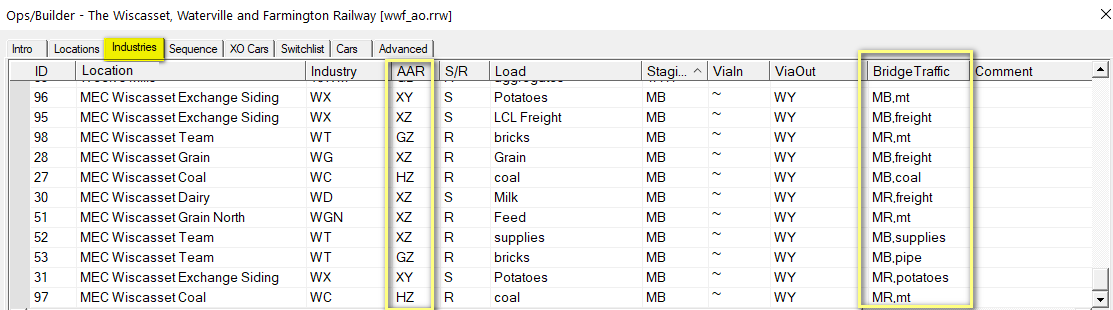
Industries need to be populated with cars in the proportions you want to see them used, more cars means a busier industry.
Vacant Spots refers to the number of additional cars the industry can cope with over and above the number of cars you originally placed (default value 1). If you don't leave at least one Vacant Spot per industry you will need to modify the Vacant Spots value in your Locations grid for the affected industry to 0. Capacity is equal to the number of cars originally placed plus the defined Vacant Spots value.
Calculations involving measuring cars would require considerably more data to be processed, this was trialed during early development but we found it far more efficient to count in terms of available spots.
Bear in mind that the longest siding at a particular industry may be at the industry that needs to handle the fewest cars. By defining how many cars the industry should handle we keep the traffic weighting within the sphere of control of the individual layout designer.
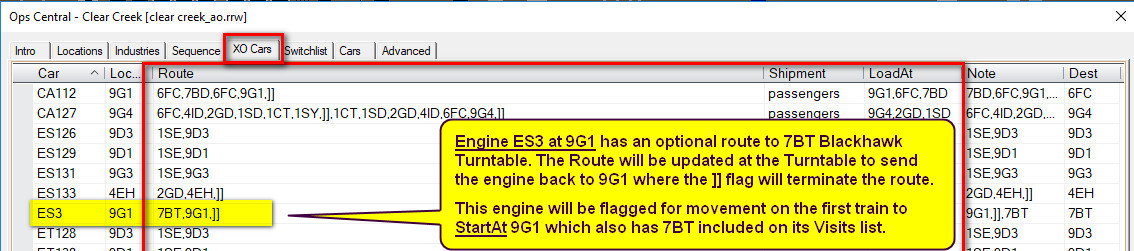
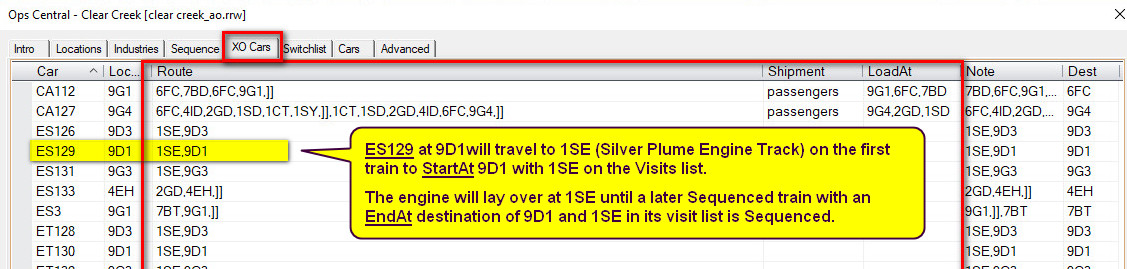
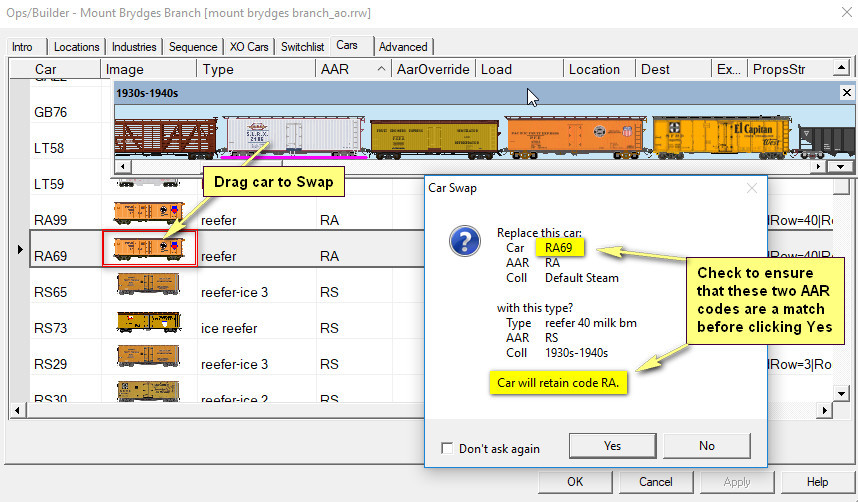
As mentioned previously Re-spotting seems to be left out.
Re-spotting should not be necessary under the AO system because industries don't order cars or loads without first having a spot available to accept them - unless an occupied spot is already scheduled for clearance by the train bringing in the replacement car.
You can temporarily respot a car anywhere on the layout but its label will not be cleared until it reaches its assigned destination.
|
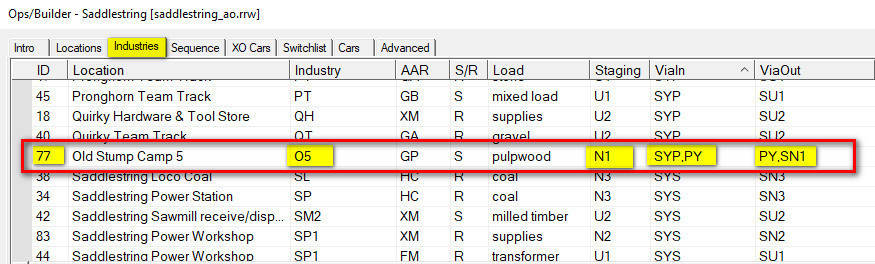
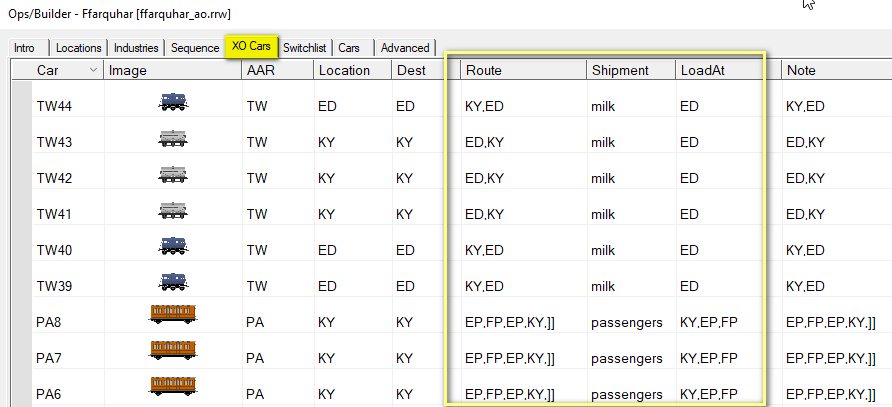
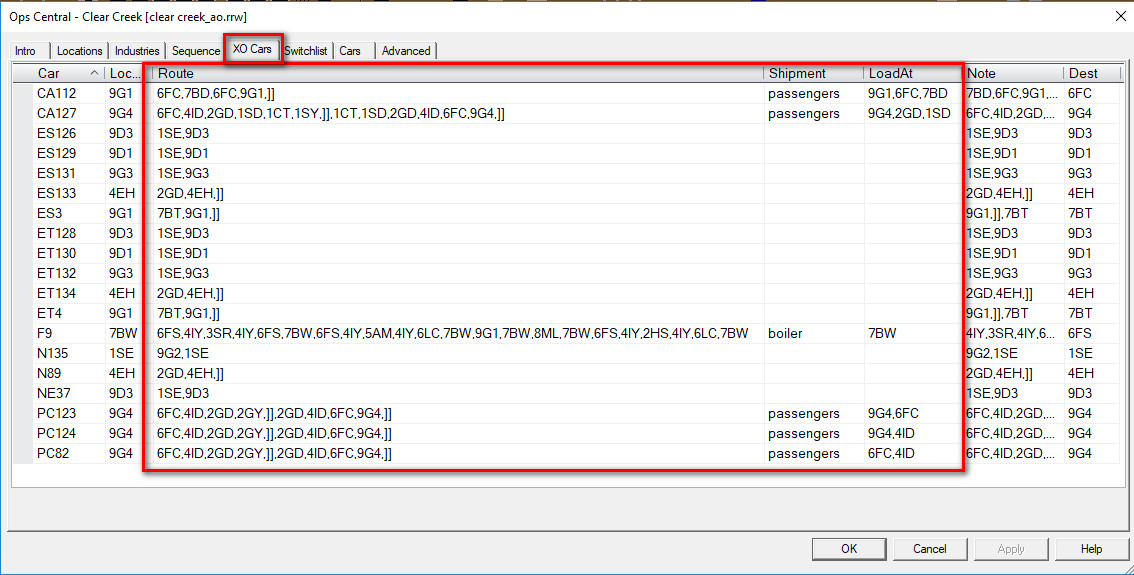
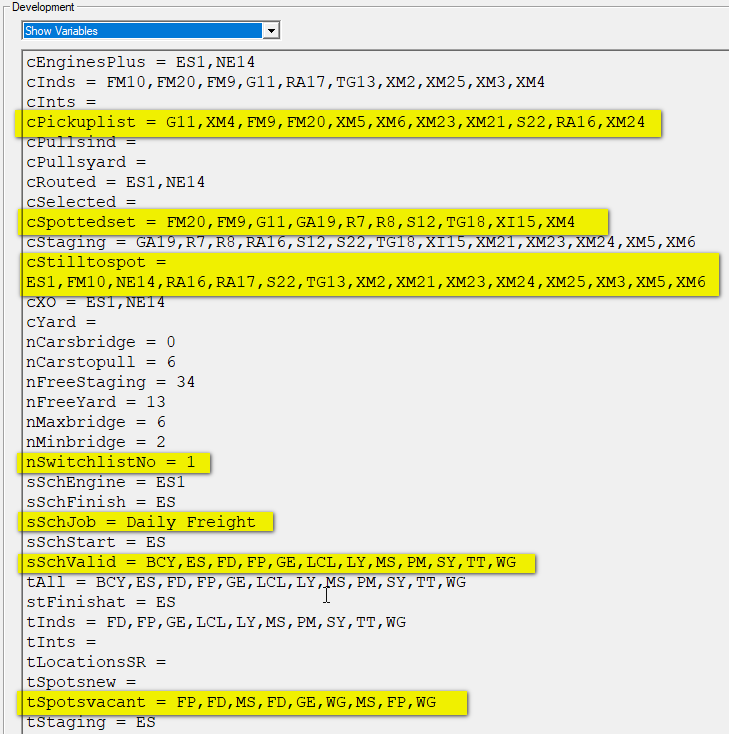
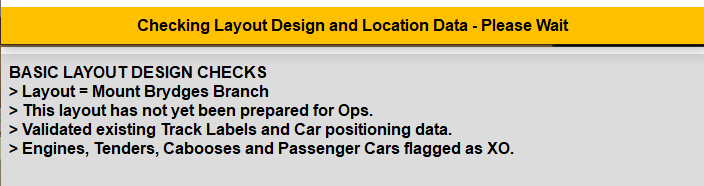
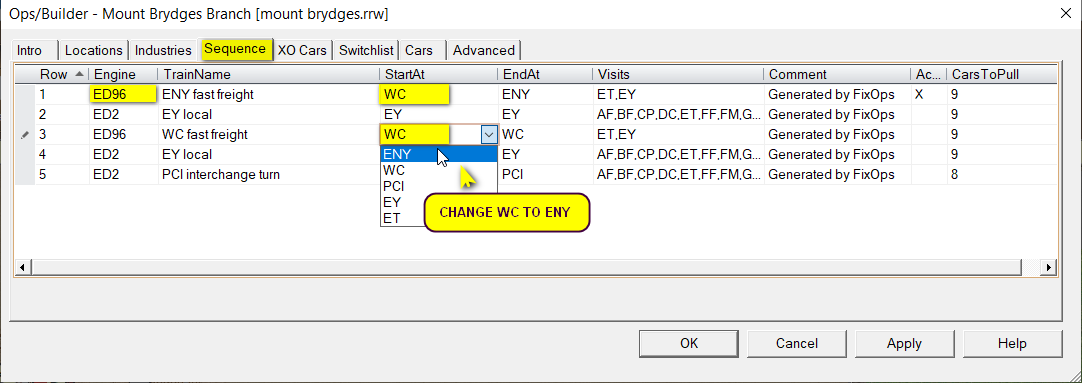
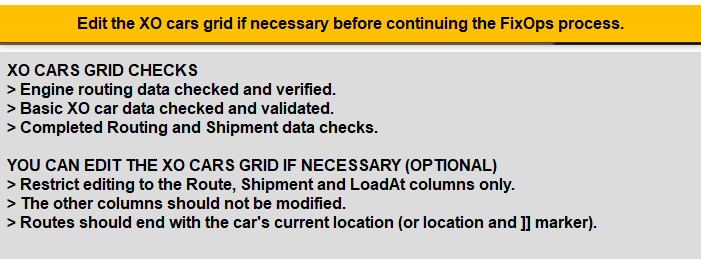
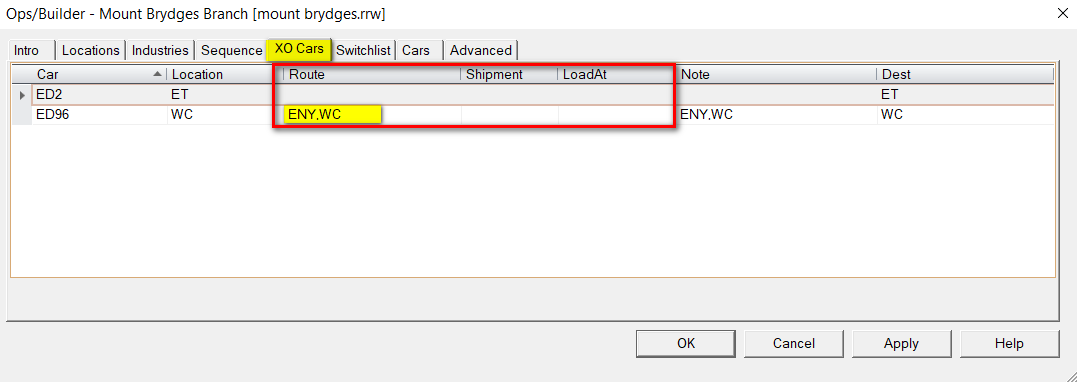
Some errors from 'Test Layout' are not explained, eg: "XO Cars: car ED40: Invalid track label". Does that mean the track where ED40 is standing has a bad label? (this only seems fixable by editing the rrw).
An invalid track label on an XO car could be a non existent label entered in a route field but it might be more likely to mean that the car has been placed on a track that has no label at all.
Running the FixOps subroutine should give you a better explanation of exactly what needs doing to fix this problem.
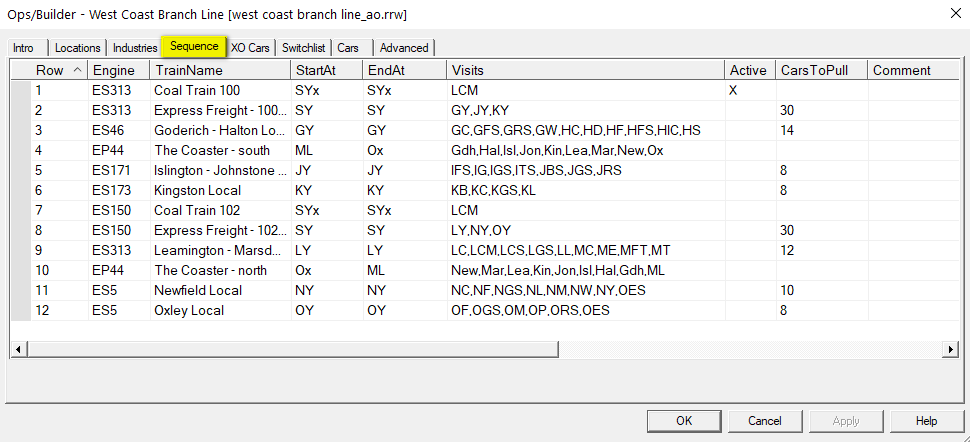
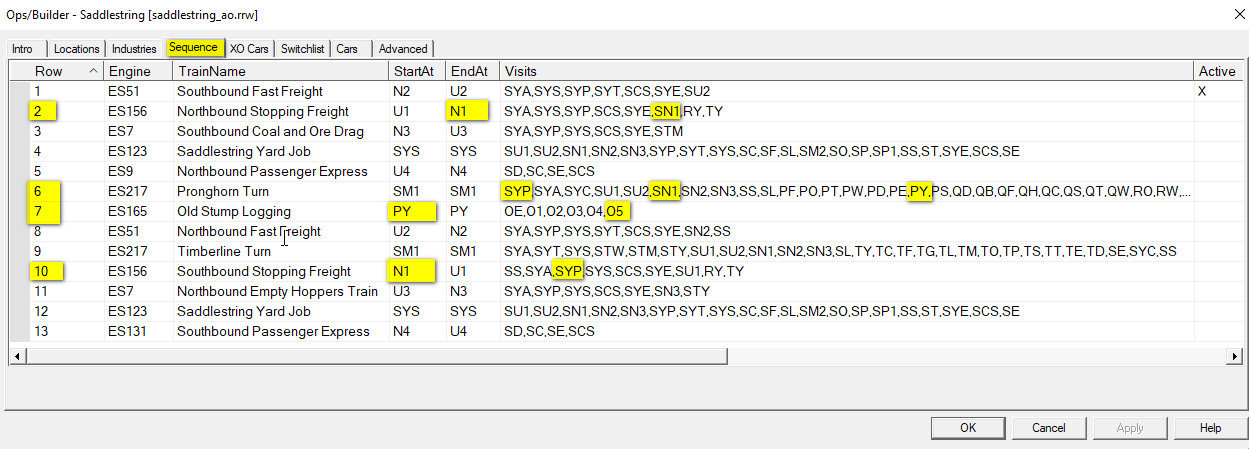
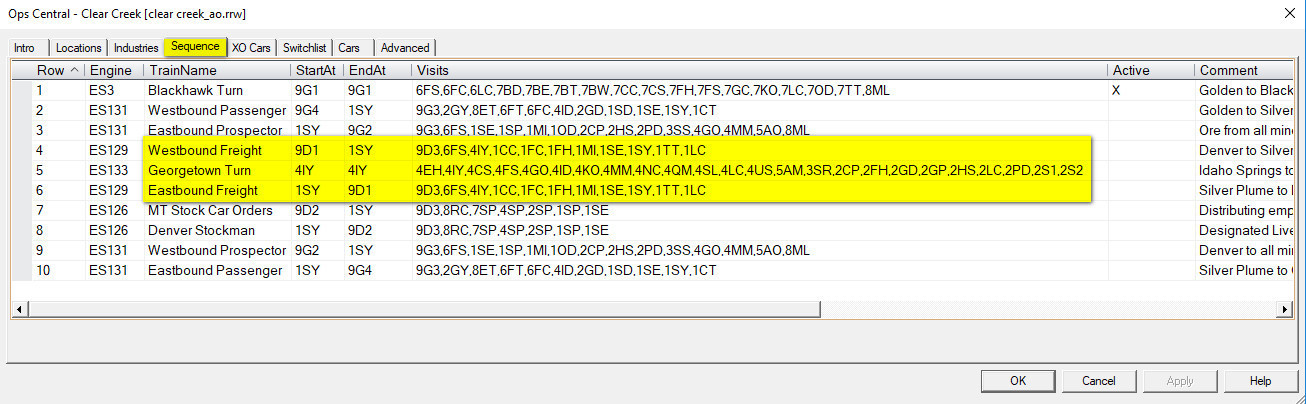
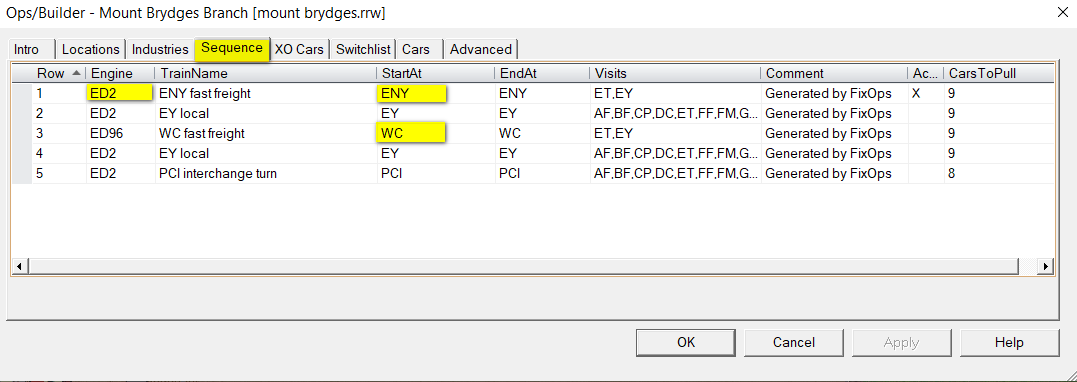
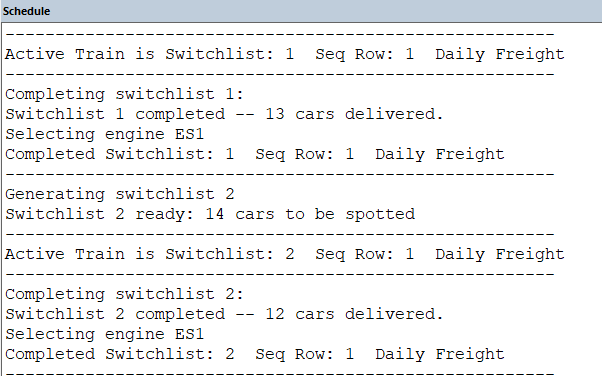
For layouts with more than one train, the Sequence seems to advance upon clicking the "new switchlist" button, rather than advancing upon completion of the current switchlist. To me this feels like forced regimentation.
Railroads operate to timetables, the Sequence is the nearest we can get to that at the moment with the TrainPlayer caveat that we can only drive one train at a time.
As layout designer you are free to decide whether to have one, two, three or twenty trains. If you are interested only in the overall picture then set up the layout for one single train (you can still use as many engines as you wish). Or if you want to see a day or a week's sequence of trains then set it up that way, keep the passenger service separate from the fast freights, keep the peddlers separate from the Class 1 trains, and route your cars through classification yards so they have to transfer to other trains to reach their destinations.
You can easily simulate the operating pattern you are asking for by only setting up one train from and to each staging area. If you authorize the train to visit every industry and class yard on your layout then every car selected to move will display a label and you will be free to complete the job in any way you wish.
When I start an ops session, I want to see the whole layout, to get a feel for the scope of that days work. For me at least zooming up on something when a switchlist is generated is the opposite of that.
I guess some of us like it the other way to concentrate on the task in hand and see what the train crew see. The map window (extreme right Ops toolbar button) gives you a plan view of the whole layout.
To see the whole layout when it opens then View "fit to window" in your Master Script should do the trick.
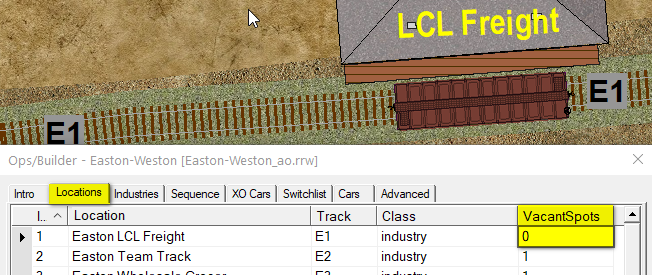
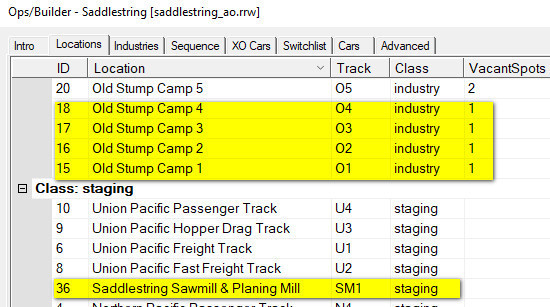
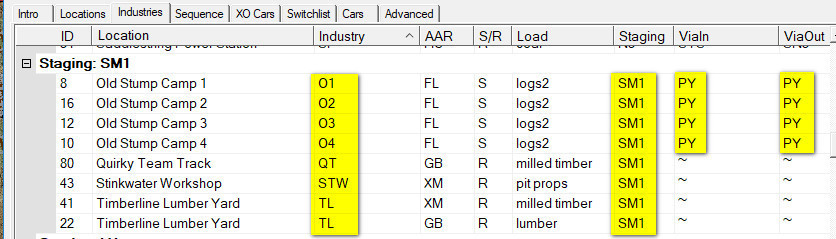
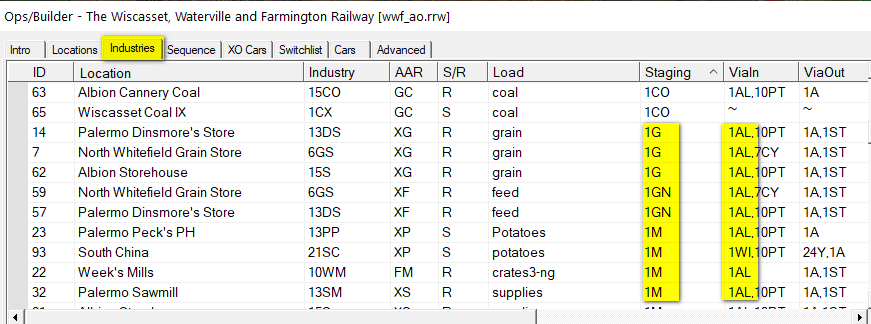
Staging and class yards and interchange tracks all have a real world capacity, but no entry in AO.
Correct, but if we limit the capacity to fixed amounts at both ends of a run, Staging and Industry, we can very soon find ourselves in a situation where no traffic can move at all. We could be unable to pull a car because the Staging track it needs to go to is full, while also being unable to deliver a car because the relevant industry is full.
In the real world the whole continent is available to accept the cars sent to what we perceive as staging.
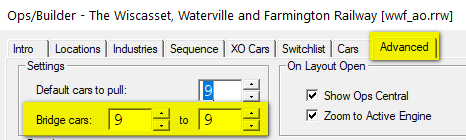
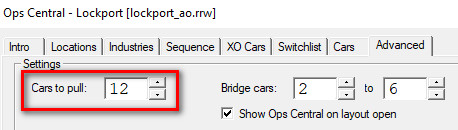
So we should design our layouts with enough staging capacity to take what is placed there plus the number of cars set as the "Cars to Pull Value", maybe a little more to be comfortable. In practice as inbound and outbound car counts are roughly matched there is unlikely to be a problem if a little extra capacity is available.
We therefore assume that Staging, representing the rest of the national network has infinite capacity and if you put too many cars on your layout for it to cope with then you quickly find out and can usually add capacity in staging more easily than at an industry. It is industries that generate the inbound traffic and empty car orders and we need to be able to ensure that they can accept the cars that we send to them otherwise the switchlists can't be completed.
|