Introduction

This additional tutorial starts where we left off with Easy Ops - Step by Step.
Our original three steps to adding an initial Ops layer won't always be enough. Sometimes after running the layout for a while we may be able to visualize an improved operating sequence.
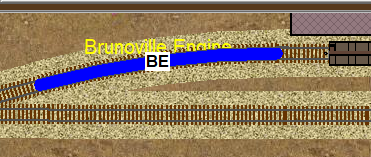
In the case of Brunoville we subsequently decided to add a single track Classification Yard to replace the passing track which is alongside the Grain Elevator siding. This is marked in blue on the adjacent image.
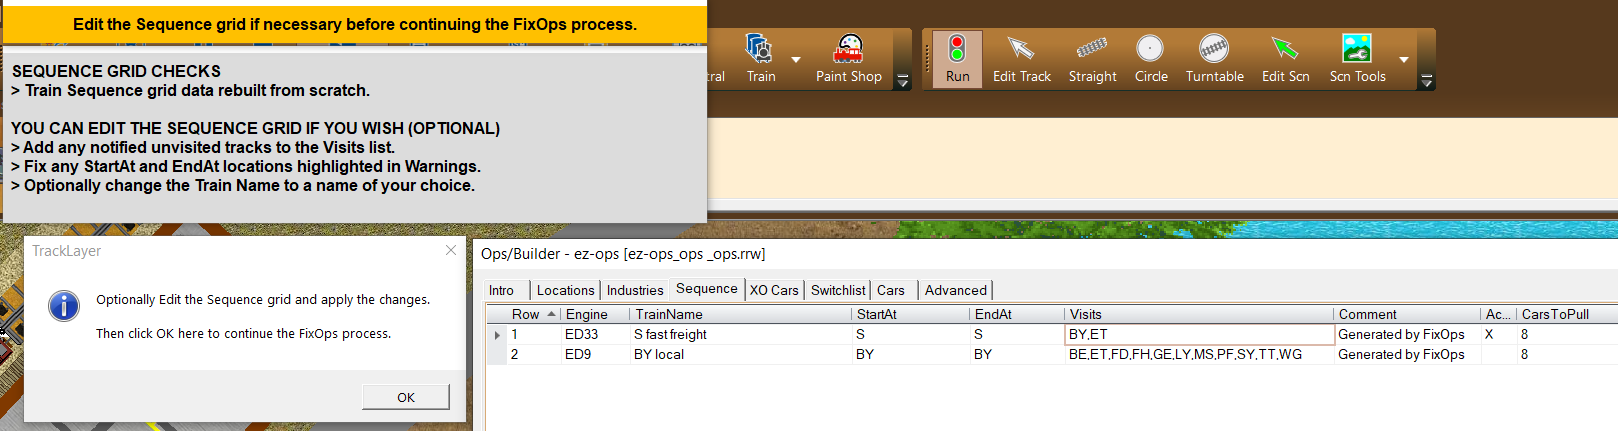
This will enable us to change the operating pattern from a single daily Peddler into a Fast Freight to the new yard which can then be followed by a separate local train to service the industries.
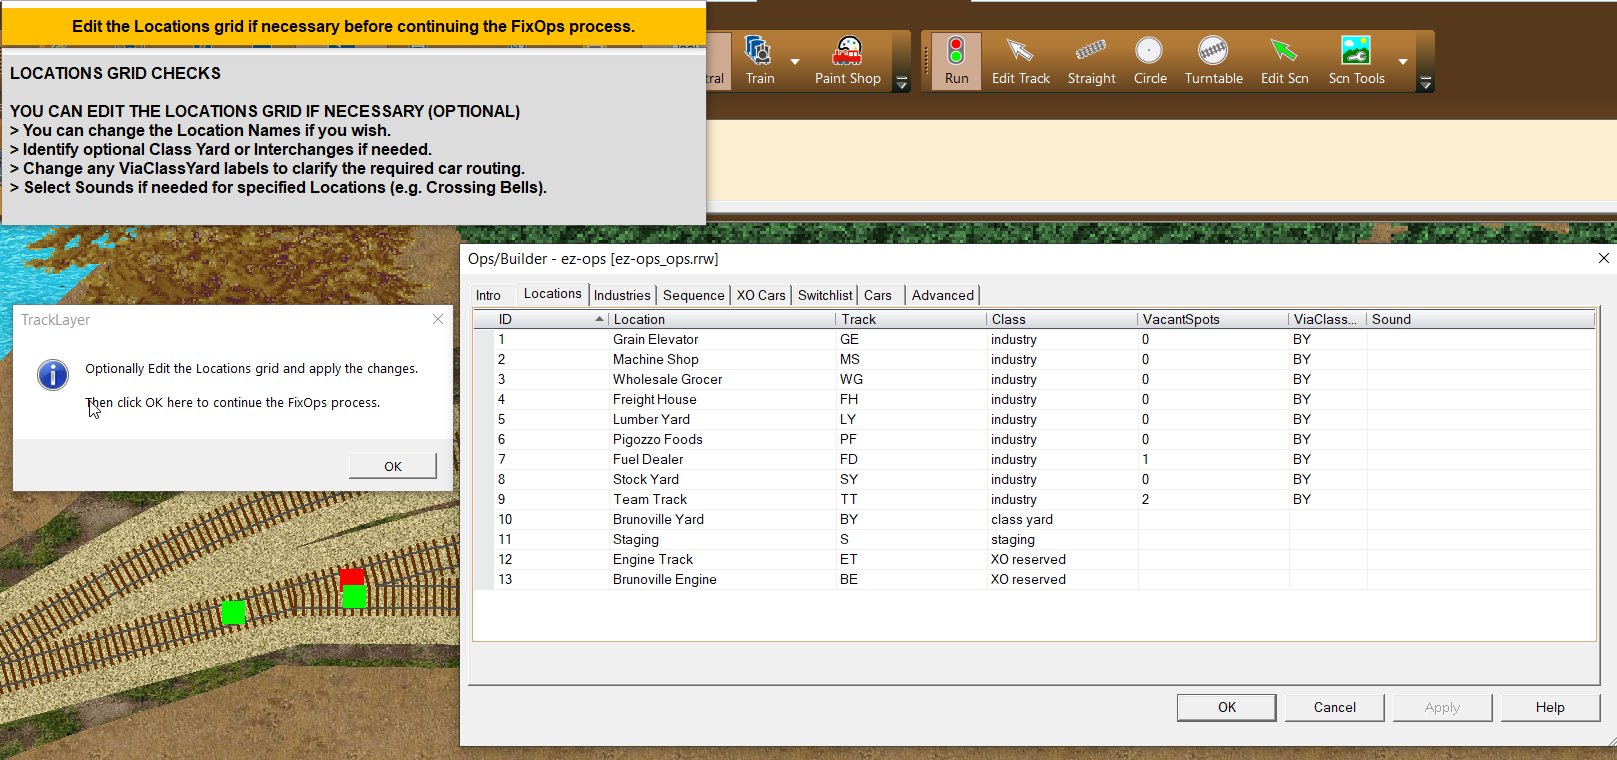
Step 1 - Editing the Brunoville locations.
Load a copy of the original Brunoville layout
Open the Ops ready version of Brunoville_v1_ops.rrw which can be found in the Advanced Ops Layouts/1 Shelf Size folder.
Before making any changes to the track we need to rewind the trains back to the original start position for Switchlist 1. This is important because resetting the layout at a later date would automatically revert to your original ops sequence and remove the changes you are about to make during the current update.
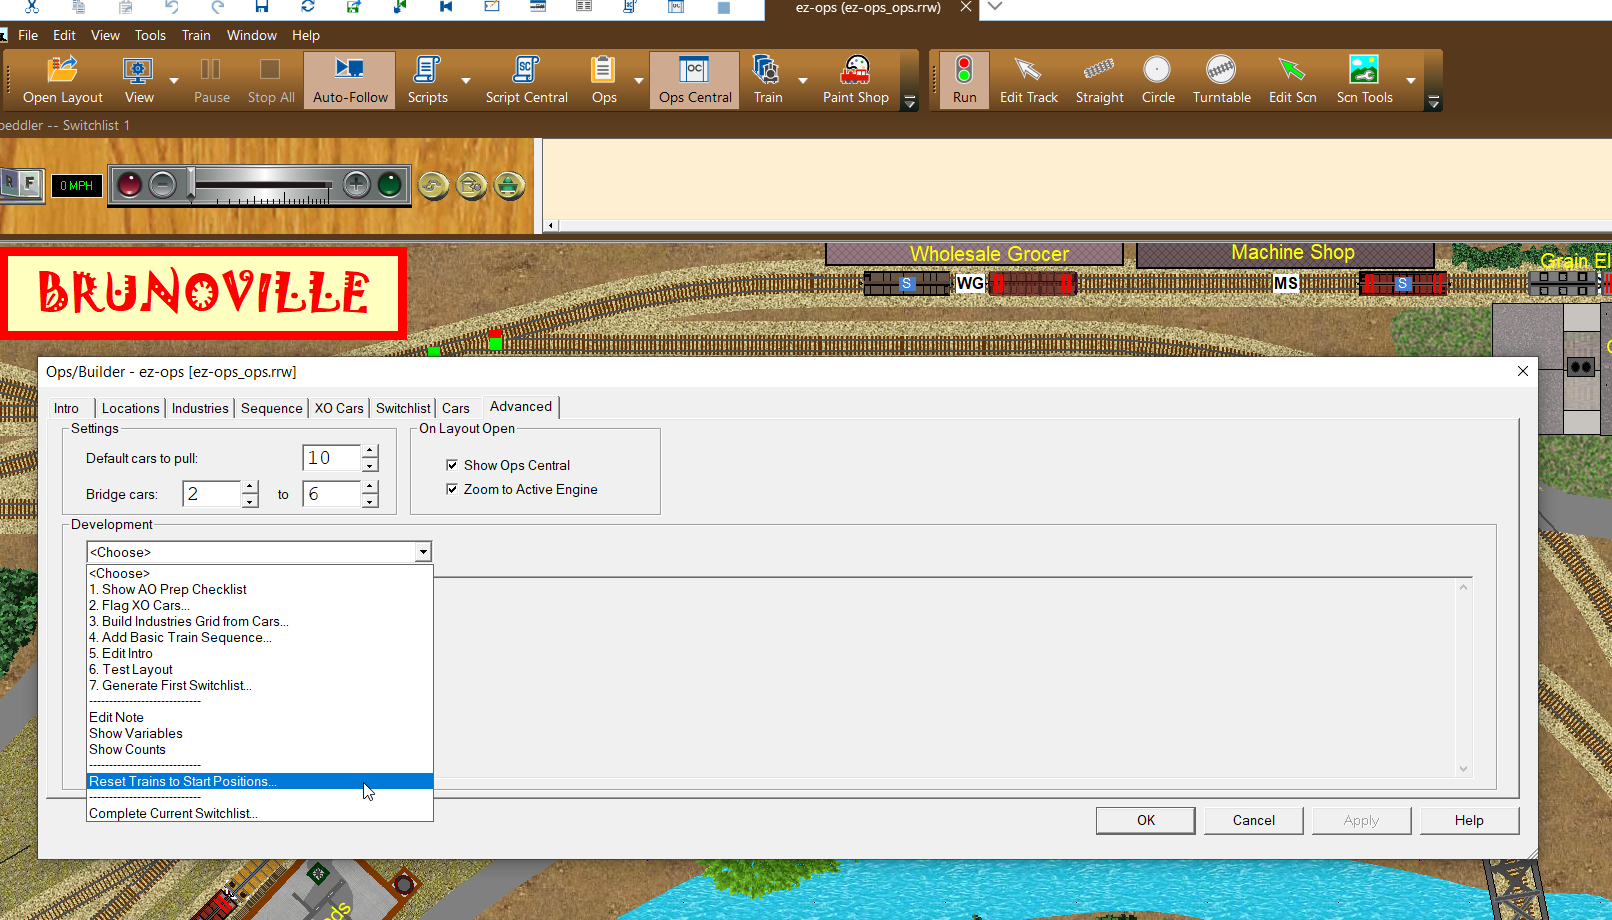
Reset Trains to Start Positions
To reset the layout to its default start position, open the Ops Central Advanced Tab, and select Reset Trains to Start Positions from the Development combo menu. You will need to confirm this in a separate dialog before the command is actioned.
We also recommend that you use Save As with a new filename after the reset to avoid overwriting the original layout later. Our new layout was saved as Brunoville_v2_ops.rrw.
We are now ready to modify the original ops plan.
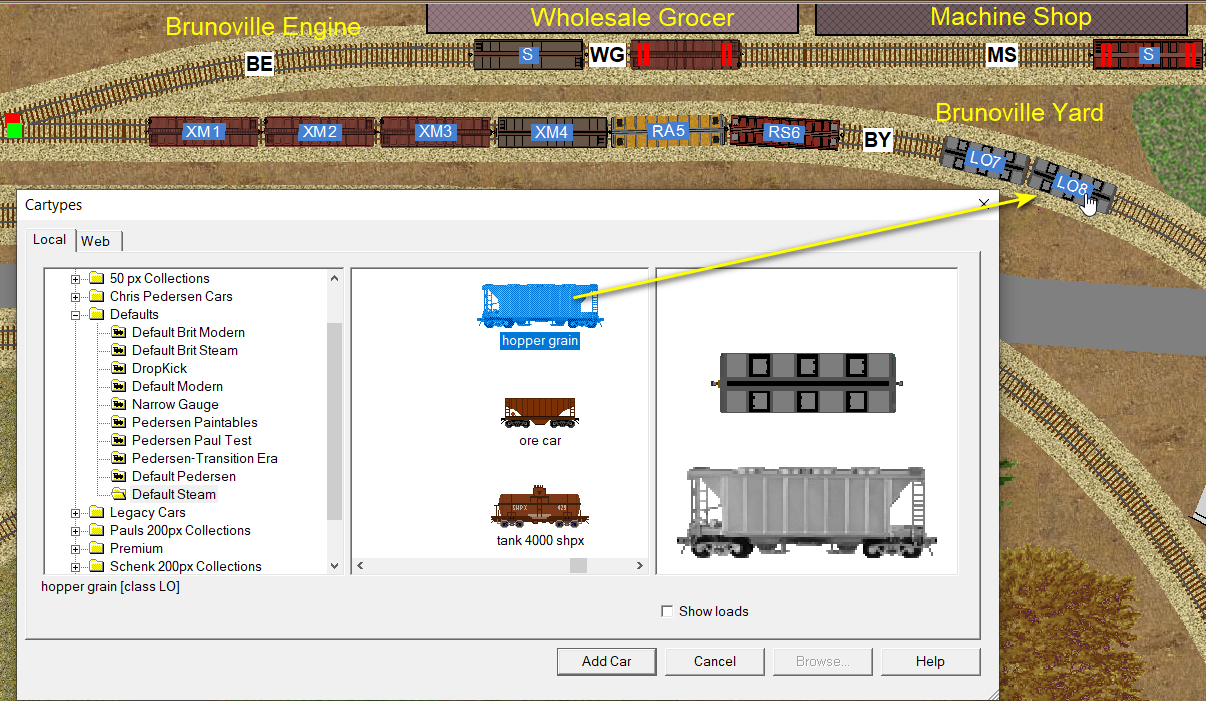
Create the Class Yard
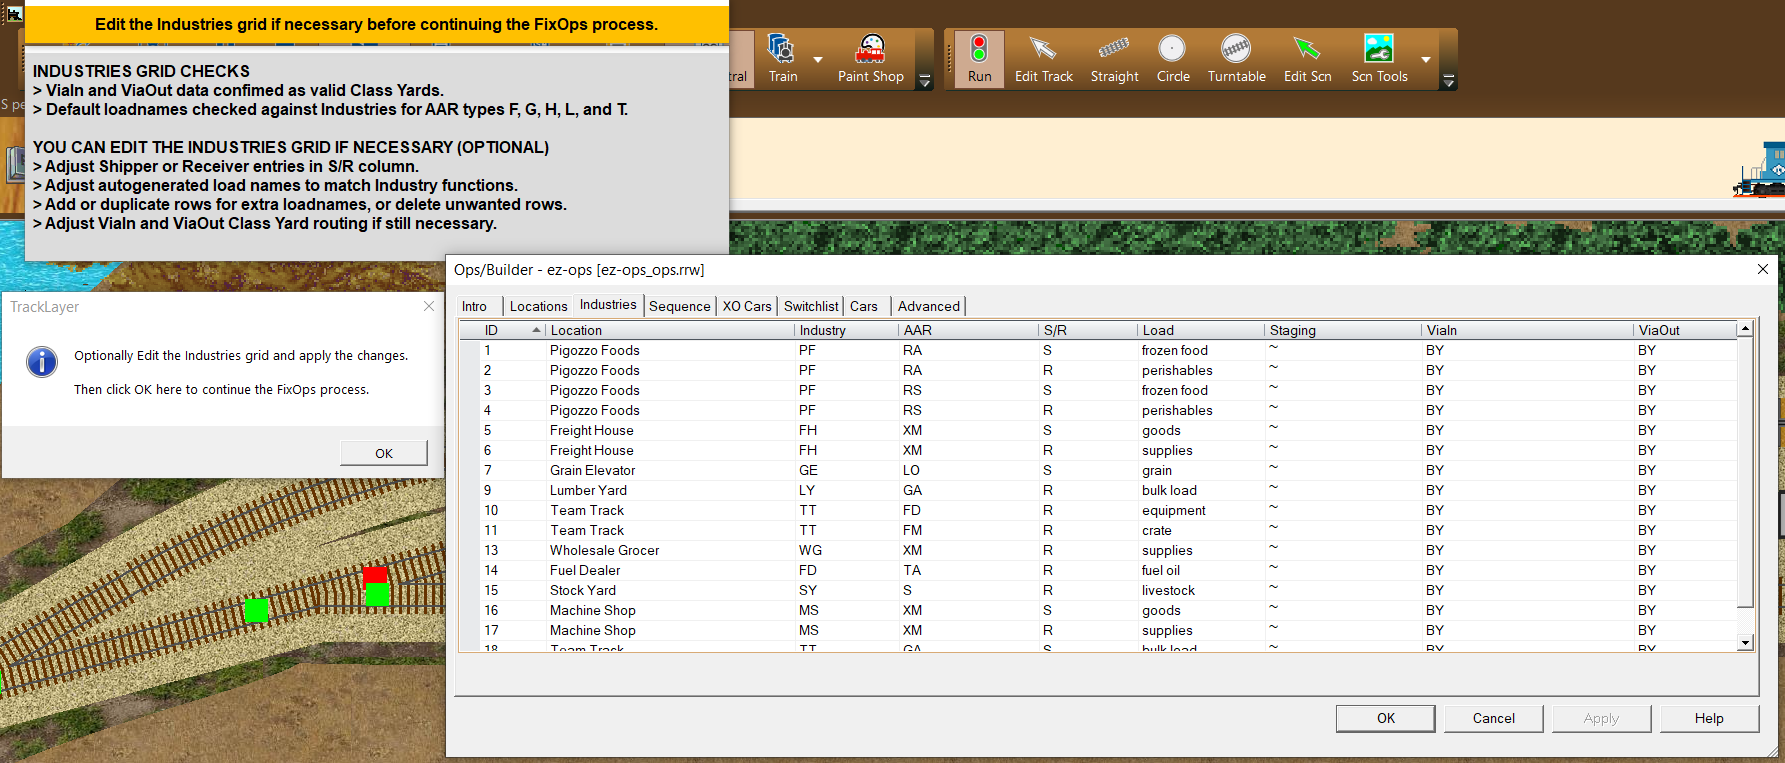
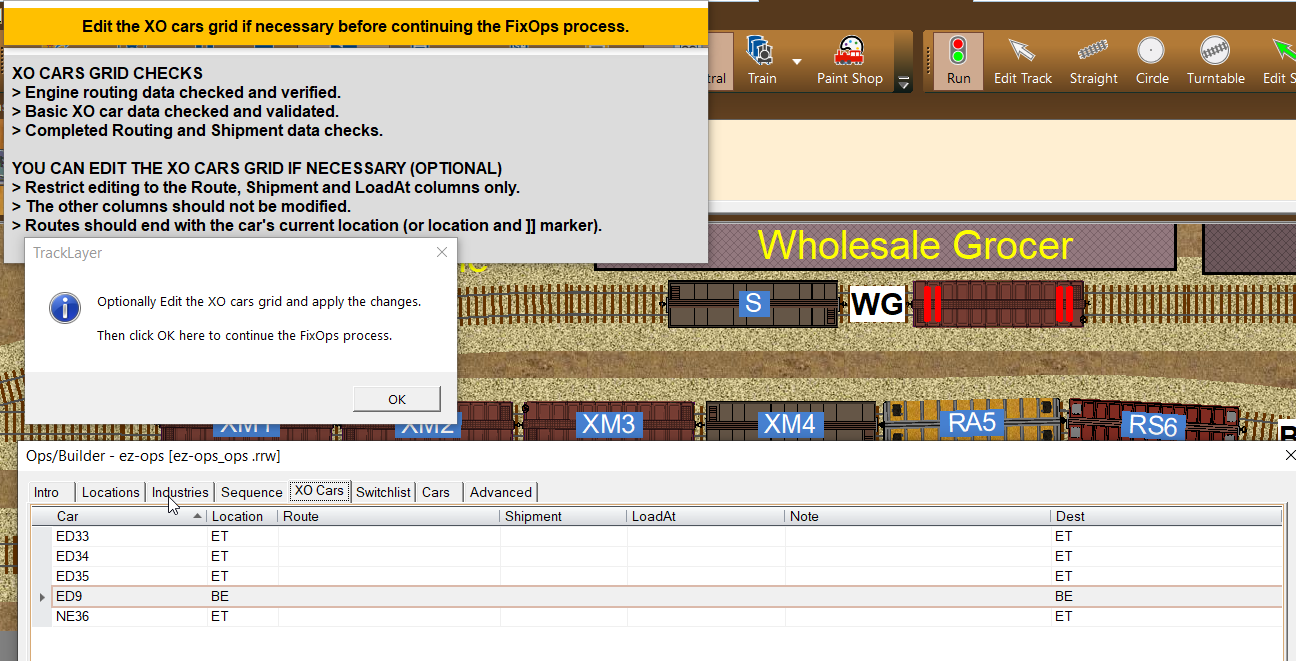
At Brunoville we have opted to reclassify the passing track, adjacent to the Wholesale Grocer and Grain Elevator track, as a Class Yard. This change will allow FixOps to generate Fast Freight traffic to the Class Yard from Staging and permit separate local trains to operate from the Class Yard and serve all the industries.
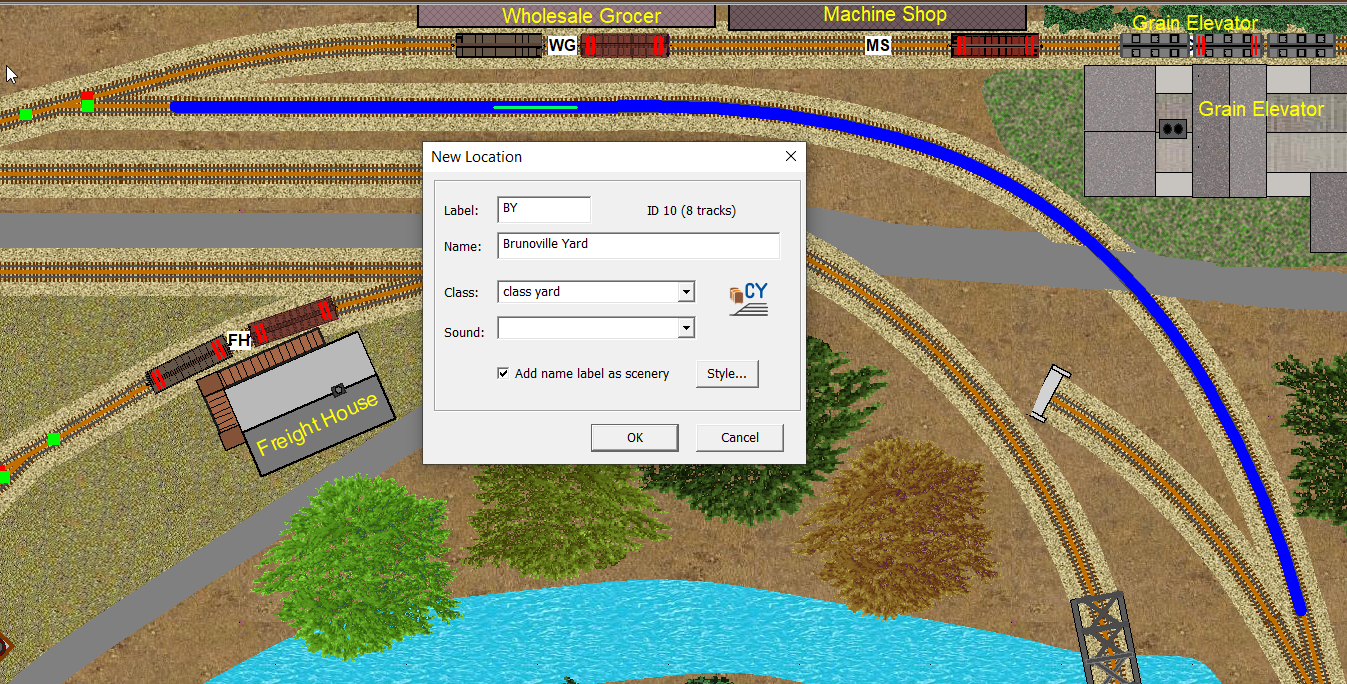
We start by selecting the Edit Track tool from the Build toolbar, and highlighting all the individual track segments which make up the curved track which is going to become the new Classification Yard.
Then right click on the selected tracks and choose Create new Location from the context menu.
Edit the New Location dialog to label and name the location, and use the Class combo menu to designate the location as a class yard.
Click OK to see a labeled location on the track plan.
If you want to peek you will also see that the new location is now listed on the Locations tab (not shown here).
On this occasion the label that we requested was originally placed somewhere near the centre of the rectangular area encompassed by the large curve which defines this yard. This is easily fixed by selecting the Edit Scenery tool and dragging the new text label into a more convenient position adjacent to the new track label.
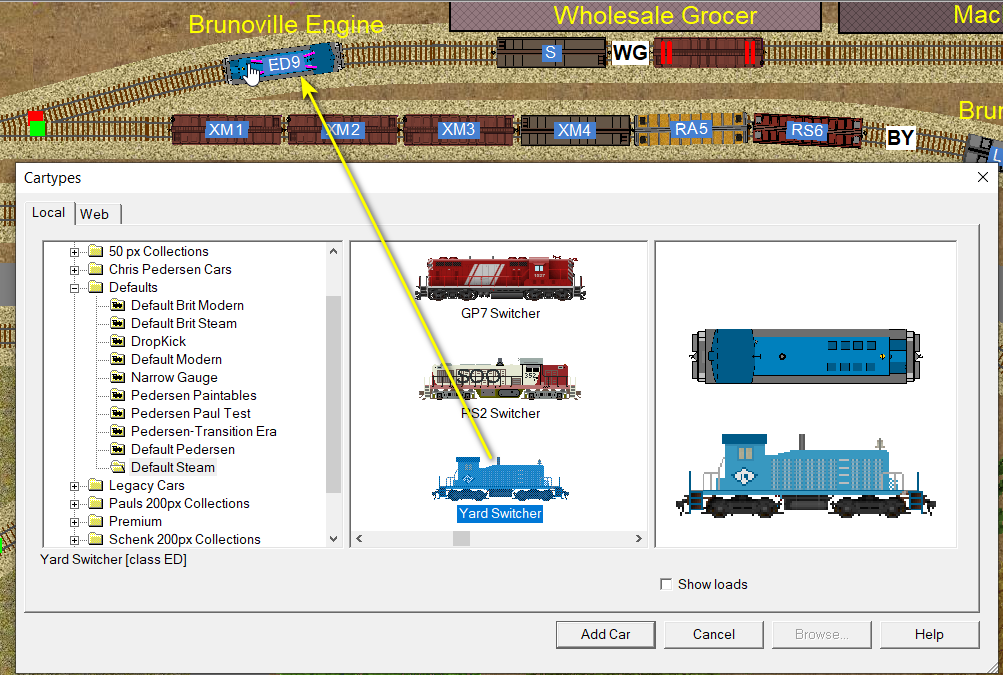
Create an Engine Track
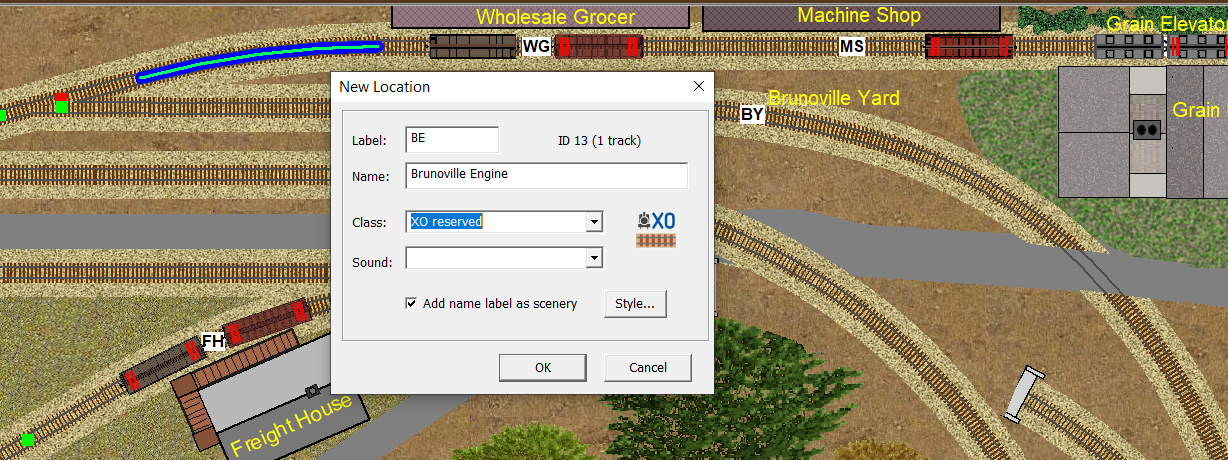
Next we need another New Location to store the switcher for the local train.
So we opt to use the short segment of curved track at the head of the adjacent siding.
The process is the same, highlight the track, select Create new Location from the context menu and then edit the New Location dialog.
Provide the new detail for the location label and name, set the class as XO reserved and ensure that there is a check mark in the box for a text label.
Then Click OK to commit the detail for this new location to the track plan and to the Locations grid.
This time our text label is fairly well placed and will be visible when the track highlight is removed, however it can still be easily repositioned further from the track using the Edit Scenery tool.