|
|
|
|
| Contents | ||
|
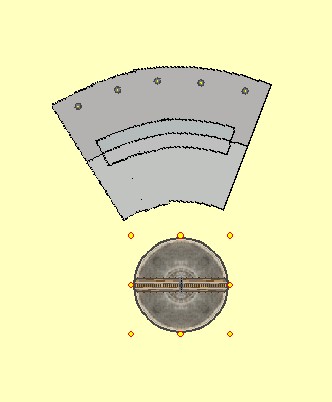
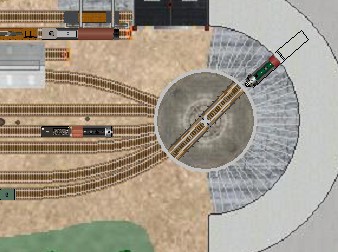
In this Clinic, we will show you how to take Mark Johnson's Roundhouse components from the Scenery folder "station_rr_buildings" and expand it from a basic 3 stall house to as many stalls as you need to service your locomotive fleet. First, go to your Scenery folder "station_rr_buildings" , and click and drag these items onto your layout plan. 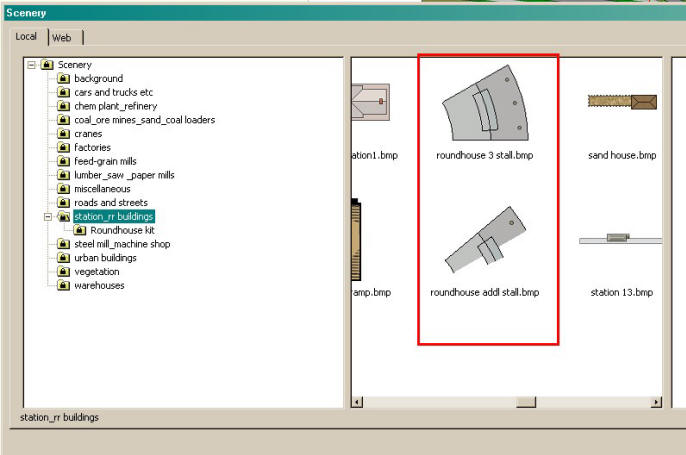 Creating your own Custom Roundhouse
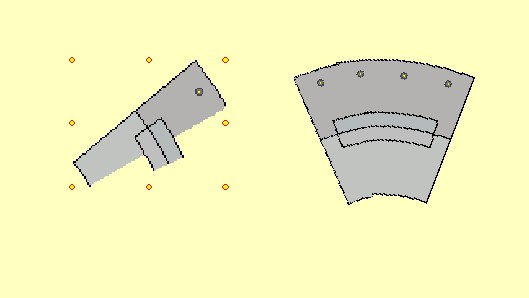
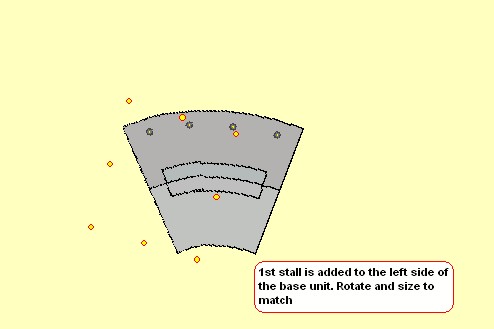
Then I click and drag the first extra stall to be added Then, as you can see from the "grab points", scale and rotate the extra stall and move onto the existing 3 stall unit
You may want to enlarge your work are so that you can more easily get the
proper alignment. When you have added all of the extra stalls you desire,
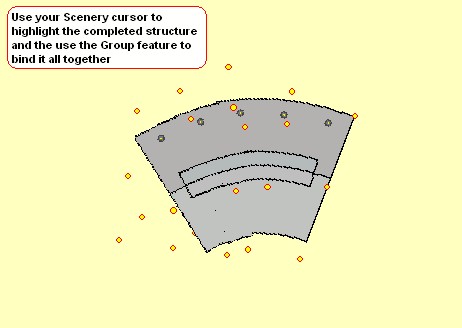
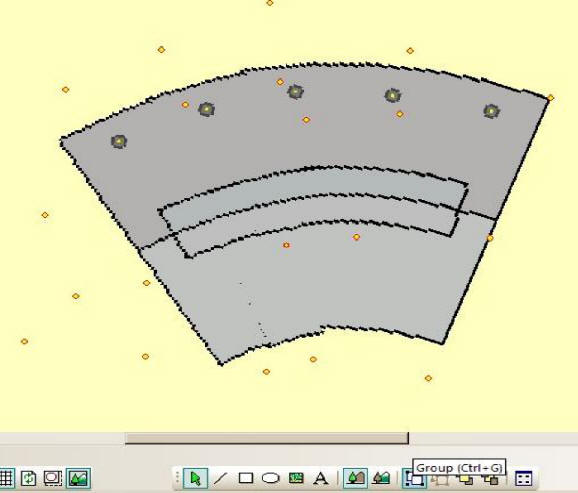
its time to Group all these items into one cohesive unit.. The main reason for using the Group feature of course is to keep all the components anchored together in one unit
|
|
| Copyright © 2005 - 2014, TrainPlayer Software |